Basics
Selecting entities
Use the entity selector (highlighted red in Figure 1) to select a entity to be drawn or edited with the mouse. Afterwards, use single clicks in the main axis to draw any desired shape. End editing a entity by double-clicking or selecting any other entity in the entity selector. In order to remove all existing points of a certain entity, first select the entry in the entity selector and then click the button Reset Entity.
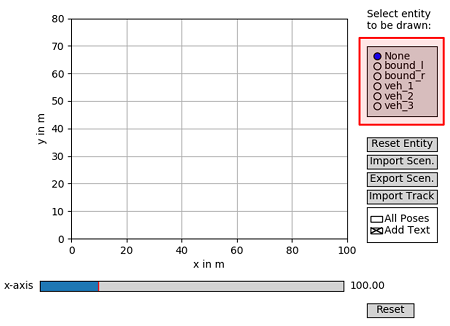
Figure 1: Scenario GUI window.
Drawing entities
Use these basic manipulation techniques to establish track bounds (left and right) as well as vehicle paths. A track is defined by a left and right bound, each holding pairwise coordinates (indicated by a dashed line between them). The overall procedure is demonstrated in the animation below.
Animation 1: Path and bound creation.
Manipulating existing entities
When hovering above an ‘x’-tick of the highlighted data-points (selected via the entity selector) in the main window, you can left-click and drag the point to move it to a new position or right-click it to remove the point from the path. The procedures are visualized in the animation below.
Animation 2: Path modification - point dragging first, point deletion second.